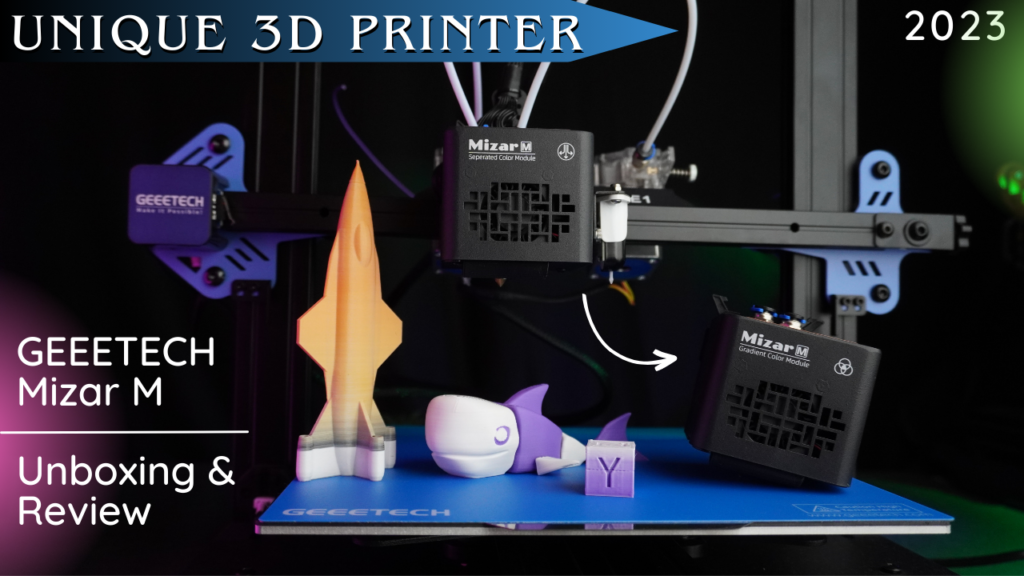
The assembly process is fairly straightforward and took us around 30 minutes to complete.
The manual provides clear and concise instructions with detailed illustrations, making it easy to follow.
Place the frame (gantry kit) on the hot bed kit and insert (M5*35) 2 screws each side. this 3d printed tool might help you in assembly.
After that, let's install the dual extruder module, which was surprisingly simple to do. only tighten up these 3 screws. remove these blue locks and insert the PTFE tubes to the end then lock it again.
Now time for spool holders. place both of them at distance. Let's attach this auto bed leveling sensor to the hotend module kit.
Now it's time for wire connections, which was straightforward. while connecting extruder wires make sure to connect E0 and E1 wires accordingly.
The main big cord goes straight into a hotend module kit and ties it up with zip ties.
let's remove this z axis screw to insert the bed adjustment knob. and also remove this screw to insert axis adjustable knob.
Insert a given memory card. plug the main power cord. and before turning the printer on, make sure to adjust the input voltage as per your country.
cables were properly connected. Overall, the assembly process was smooth and hassle-free. It's time to switch on the printer. The LCD display looks good.


